Saturday, July 30, 2011

A HOOTIN GOOD TIME!

Pin It
Super Simple Owl Cupcakes

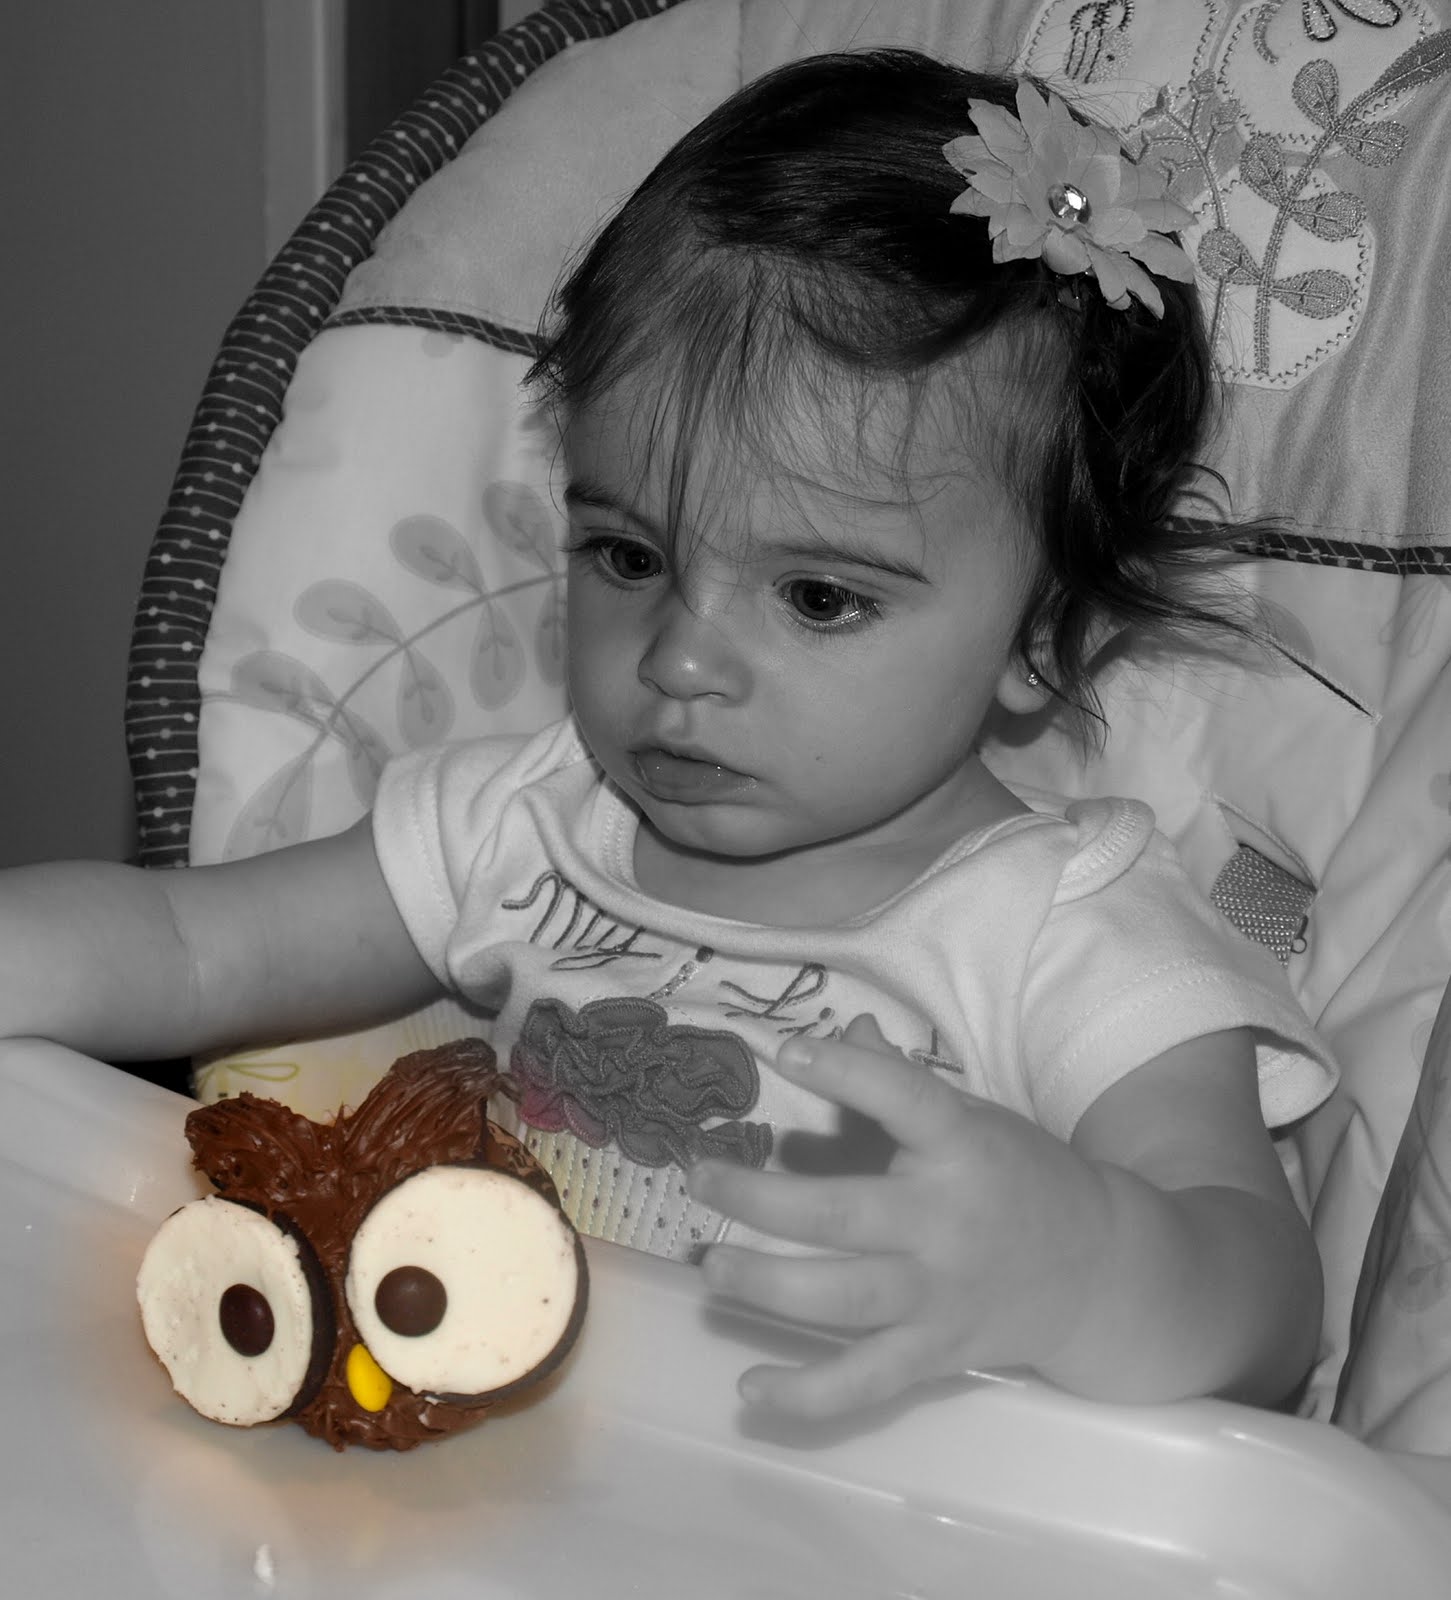
what the heck is this?!

First, HAPPY 1ST BIRTHDAY KAYLEIGH RAE!
Ok so this week, well past two weeks have been crazy! I have been on overload with things to do and just this week I started a new job and it is also my beautiful niece Kayleigh's first birthday! Now, this girl is the apple of my family's eye so this birthday is a BIG deal. But I believe she is seriously the cutest baby in the world and think she deserves it all! haha....seriously I do.


look at that beautiful face!


So for her birthday-which is the day after my dads (her pop pop) birthday (he'll most likely never be recognized on his birthday ever again now but lol come one did you see how cute she is!?)- I wanted to make something easy but festive/cute enough to celebrate the day. I remembered seeing a picture of owl cupcakes a while back and thought YES! That it what I'm going to make. I have no idea how but I will make them anyway!


 Since I was super busy I cheated and used boxed  cake and yes pre-made icing (i am usually so against pre-made icing but hey i was busy and Kayleigh didn't see to mind). For these cute little creatures all you really have to do is buy the ingredients and assemble. They are much easier than they appear. I just guessed on how they were assembled by checking out a picture and going from there and they came out great :)! People will love them I promise!

Directions
Any box cake flavor you prefer will work, just follow directions for making cupcakes and let cool.
1 jar of chocolate icing...unless you'd like some multi colored owls but chocolate looks the best, I think.
1 bag of cream filled chocolate cookies, oreo's as we know them.
1 large bag of m&m's
While cupcakes are baking, and cooling, split cookies in half and use the back of a butter nice to scrape excess crumbs off.
Dig out preferred m&m colors for eyes and noses. I thought brown looked the best for eyes but also threw in a few blue and red eyes for diversity :).
Find yourself enough yellow and/or orange m&m's for the noses
    *note-here you can use the candy whole or use a sharp knife and cut in half. Both work fine but if using whole m&m push the candy into the cupcake itself just a bit or it will fall off of the icing.*
To make ears, use 6 left over oreo wafers- just the cookie part, scrape cream off- and cut into quarters (first in half and than in half again in the opposite direction).
Once cupcakes have cooled apply a layer of chocolate icing to the top of cupcake. Scoop and fill remaining icing into pastry bag or zip top bag (cutting a small hole in the bottom corner of bag)
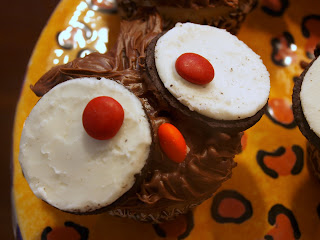
Place two oreo's cream side up on the upper half of the cupcakes pressing down slightly. You may need to add a little extra icing to the back of cookie first.
Next add an m&m on each eye with the m facing down. Also place one below eyes for the nose.
Take the quartered cookie's and place in between and above the eyes, with rounded side facing each other) pressing down into cupcake slightly.
Using pastry bag, or zip lock, lightly make lines with remaining icing above eyes and over ears. You can also do this below the nose for some added umph ( yes umph)
Then look in amazement at the adorable little creatures you created!

I know this seems like a lot of steps but its actually extremely easy to assemble. Just keep referring back to the picture at the top and go from there.
I am going to leave you all with a few pictures that is worth more than a thousand words! Enjoy!
mmmmmmm cake

sugar overload!


Tuesday, July 19, 2011

Strawberry Fields Forever

Pin It
Strawberry Sugar Cookies


Sweet summer time!
I love summer and I love the wonderful and colorful food we get this time of year. I just picked up some fresh strawberries from a local farm and thought hmm what can I make with these???? There's always the typical strawberry shortcake but I wanted to make something different that you normally don't see but also wanted it to be super easy. I was leaning towards some kind of muffin but really didn't feel like dealing with that process (i was being lazy what can I say). So cookies it will be! These are actually sooooooooo incredibly simple and fast! Its a basic sugar cookie recipe and I added some diced on strawberries at the end.

I planned on making a simple powdered sugar glaze to drizzle on top, however these are great just the way they are. They are simple and light with a bit of extra sweetness from the strawberries. But if you have a super strong sweet tooth go ahead and just mix some powdered sugar milk and a tad vanilla until its a thing but sturdy consistency and drizzle over cooled cookies. I also thought about sprinkling some brown sugar on top before baking as well. I'm sure that would be great too! 

These took a watchful eye to bake. It was most likely due to me adding an extra amount of strawberries just because I wanted to go overboard lol. The moisture from the extra strawberries added in kept them from baking as fast. So just follow the recipe and you should not have this problem. 

Anyways these cookies are simply delicious and perfectly sweet....perfect for summer! 


Super Simple Strawberry Sugar Cookies
3/4 cup butter (room temp)             
1 teaspoon vanilla
1 cup sugar
2 eggs
2 1/2 cup flour
1 teaspoon salt
3/4 cup fresh diced strawberries

1. Preheat oven to 400 degrees.
2. Cream butter, vanilla, and sugar for 3 min.
3. Add eggs one at a time, then add flour and salt.
4. Fold in berries then give them a quick mix on high speed with mixer to incorporate a bit more.
5. Bake for 8-11 minutes (varies depending on how wet strawberries are.
6. Let cool and glaze and/or enjoy!

Sunday, July 10, 2011

So Good! So Good!

Pin It
Butter Cocoa Bars
with chocolate sauce and salted caramel topping

So I woke up this morning determined to work out and kick start my daily running routine but I got distracted and side tracked.....by food of course!
 I don't how or why, but I was thinking of this amazing fudge I had while traveling around California last fall. I really have no idea  where this thought came from but I'm not complaining. It was this dark chocolate salted caramel fudge from Sonomoa Cheese Factory. They have AMAZING goodies in their downtown Sonoma store. Check them out here.
  First off, let me warn you. I was wine tasting all morning when I arrived here. I'm guessing this was the reason behind why I thought it was ok to buy a massive hunk of this fudge and not share it, or even save some for later. But regardless I will never forget how HEAVENLY this fudge was. It was the only fudge I sampled (and they had quite the variety). I didn't even consider trying another. This one called out to my wine drunk stomach  and we made a pact that I would be devoted to only that fudge.
HAHA anyways. This is what I came up with based on the ingredients I had. I wish I made the bottom less buttery and more chocolatey but still yummy. And I think next time I'm going to skip adding powder sugar into the topping and leave it more of just plain old brown sugar caramel. sauce rather than a frosting. But regardless it was still yummy!

Butter Cocoa Bars

Ingreidents
  •  2/3 C butter
  • 4 squares semisweet chocolate ( 1 oz ea.)
  • 4 eggs
  • 1 tsp salt
  • 2 C sugar
  • 1 1/2 C flour
Directions
  1. Preheat oven to 350.
  2. Melt butter and chocolate together, cool for 10 min. Double boiler system or microwave safe dish at 30 second intervals.
  3. In bowl beat eggs and salt until foamy.
  4. Gradually add sugar and mix well. 
  5. Stir in chocolate mixture.
  6. Combine flour and baking powder and gradually add into chocolate mixture.
  7. Pour into greased 13x9 pan. 
  8. Bake for 25-30 minutes.
Salted Caramel Frosting

Ingredients

  • 1/2 cup (1 stick) Butter
  • 1 cup Dark Brown Sugar
  • 1/4 cup Whole Milk.
  • 2 cups Powdered Sugar, sifted
  • Sea Salt, for topping
Directions 
  1.  In a sauce pot, combine butter and brown sugar and turn heat to medium heat until comes to a slow boil.
  2. Add milk and bring back to boil.
  3. Remove from heat and add powdered sugar. Use a wooden spoon to stir until powdered sugar is fully combined and mixture is creamy. If the mixture has some clumps, then strain before using.
  4. Let cool for 2-3 minutes before pouring (all) of the mixture on top of the brownies. Sprinkle immediately with sea salt or kosher salt. Let set up, around 10 minutes, before cutting into squares

Tuesday, July 5, 2011

GIMMIE S'MORE!

Pin It
HAPPY 4TH OF JULY!!!!


Hope everyone was enjoying the lovely holiday and celebrating the right way by eating lots of good ol' American BBQ food!!!!!

Well in the spirit of the holiday I thought I would make a suitable desert. I really wanted to make a cupcake but honestly it was just too nice outside so I wanted to do something that did not require scooping and measuring and decorating.
I have been craving s'mores and waiting for a great night, and time, to have a good bon fire and eat way too many of them. So since I had stuff for s'mores i thought hmmm how perfect. I mean s'mores are just as american as you can get. Now what to make instead of just pre-assembled s'mores. Who wants that. The whole point of eating a s'more is the enjoyment in making it.

 I came up with a gooey, buttery, chocolate and sticky bar just perfect for the 4th of july. It's like a fancy, pinky up when you eat it, s'more. Although they are just way to sticky and yummy to even worry about putting those pinky up! I have to pre-warn you that they are seriously addictive and the perfect end to a BBQ.

NOTE: taste enhanced when enjoyed under fireworks, lol.
Just look at that deliciousness!
BTW: we literally had to move these inside because we couldn't stop eating them and we would have none left for  the fireworks :)
Ok so these are actually super easy to make just take a few simple steps. They are made in layers basically, starting with the graham cracker crust. I just mashed a bunch of whole crackers and tossed them with some melted butter. You can but a box of  graham cracker crumbs ready to go but thats just no fun! Then i melted semi-sweet chocolate chips (you can use dark chocolate just as a bit more sugar when mixing, but i wouldnt recomend milk chocolate. It jus wont taste as devine!) Those two steps are the hardest so if you can handle this you are good to go.
Oh side note-if melting chips in microwaves do it in 20-30 second intervals n stir to help melt because you dont want to burn the chocolate. If doing it the double boiler style just watch from getting any steam or water into the chocolate. The mico works fine just take time n stir as to not burn the chocolate.
OK here is the recipe :
S’more’s Bars

For the crust:
1 1/2 cups graham cracker crumbs
6 tablespoons unsalted butter; melted

For the brownie layer:
8 tablespoons (1 stick) unsalted butter
4 ounces semi-sweet chocolate chips
1 cups sugar
1 teaspoon vanilla extract
1/4 teaspoon salt
2 eggs
1/2 cup all-purpose flour


For the topping:
20 large marshmallows; cut in half

Directions
Preheat oven to 350 degrees. Line an 8-inch-square metal baking pan with foil and spray lightly with nonstick cooking spray.
Combine the graham cracker crumbs, 6 tablespoons of melted butter in a bowl and mix until the crumbs are moistened. Press the crumbs evenly into the bottom of the pan and bake at 350 degrees for 7 minutes. Allow crust to cool on wire rack.
Turn the oven temperature up to 400 degrees and prepare the brownie layer.
In top of a double boiler set over barely simmering water, or on low power in a microwave, melt butter and chocolate together. Stir often, and remove from heat when a few lumps remain. Stir until smooth.
Add in sugar, vanilla and salt. Followed by the eggs(one at a time) and finally the flour. Stir until very smooth, about 1 minute, until mixture pulls away from sides of bowl. Scrape batter into prepared pan and bake for 18 minutes.
 Let cool completely, then lift out using the foil and place brownies onto a broiler safe pan. Move your oven rack about 6 inches from your broiler and preheat your broiler to low.

Layer marshmallows (sticky side down) across the top and toast under the broiler until golden, about 2 minutes. Keep an eye on them because they burn easy and quickly.
Cool and cut into squares....if you can wait for them to cool!